|
<< Click to Display Table of Contents >> Add New Case |
  
|
|
<< Click to Display Table of Contents >> Add New Case |
  
|
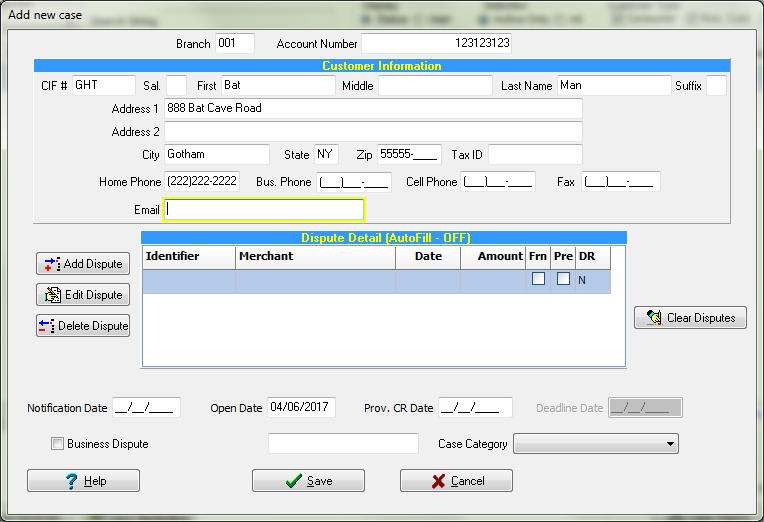
The Add New Case screen provides the ability to setup a new case manually or download all available information from the host system. Below is an example of adding the new case manually.
Obtain customer information
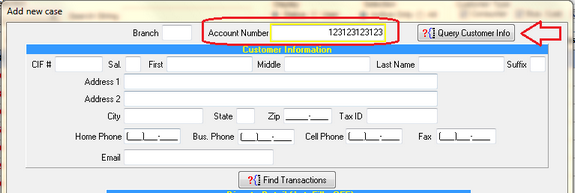
The starting point for gathering the host information is the Account number of the dispute. Once entered, the user will perform the Query Host Info function, to the right of the Account Number, to obtain a listing of all customers authorized to the account.
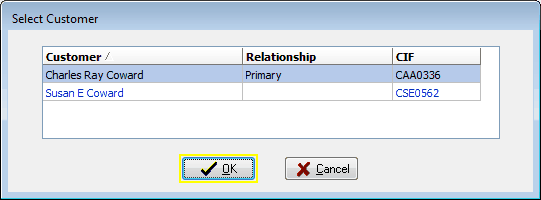
Select the name for the user under which the new case is to be generated. This selection will trigger the download of the customer and address information as they exist on the host system. If required, the information can be edited before it is being saved.
The Customers information downloads from the core system, the Middle Name or Initial, if present, will be combined with the First Name. This will not cause any inappropriate text if the First Name was used by itself in a form letter.

In the case of a Business customers who might maintain several cards for their employees, the customer information will need to reference the business name in order for the post office to properly delivery the correspondence. To accommodate these circumstances, a second address line was made available.
If the account is interest bearing, the current rate of the account is also downloaded. A message notifying the user of the interest bearing account is also displayed.
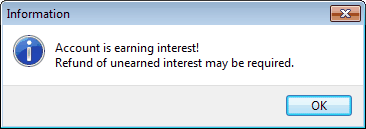
Note** Currently, the Query Customer Info button will not populate the second address line, however, any user edits will be maintained throughout the case.
Find Transactions
To quickly setup a series of disputed transactions, the host system can be queried for all DDA transactions via the Find Transactions button.
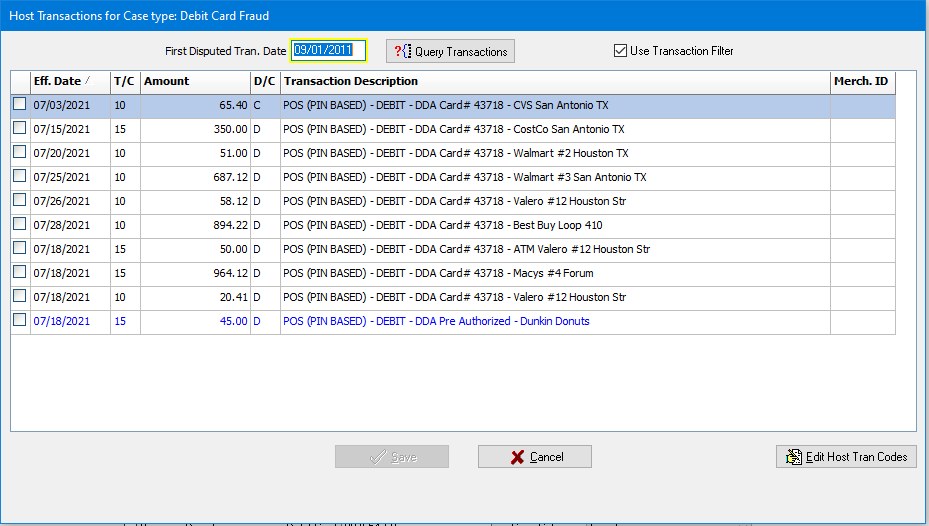
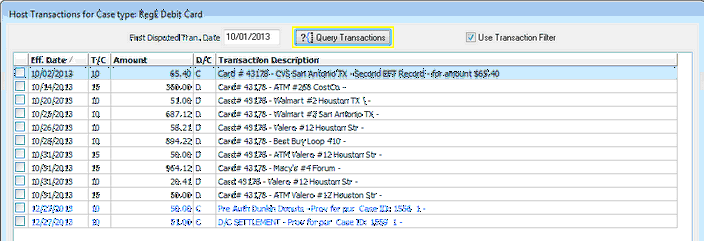
Enter a First Disputed Trans. Date, then select the Query Transaction button. This will produce a fill the grid of transactions starting with the date entered.Simply check the transactions to be disputed as identified by the customer. This will result in the selected transactions being automatically filled into the Dispute Detail grid.
Any transactions showing up in blue font are Pre-Authorized transactions. (See Pre-Authorized Transactions) They can be selected but will not be added to the total case amount disputed.
The list of transactions can be filtered based upon a list of transaction codes by Case Type. If no list has been established, the Use Transaction Filter will be unchecked and all queried transactions will be shown.
Once disputed transactions are being selected, the system will check if the selected transaction codes are part of the filter list. Any transaction codes that are not yet part of the list will be prompted to the user.
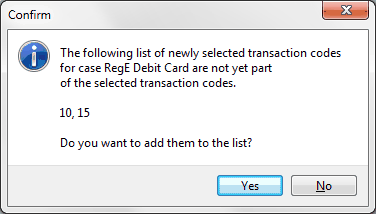
If the user selects to add the codes, then they will be used the next time transactions are presented and the Use Transaction Filter will be checked. If disputed transactions don't appear in the list because they have been filtered out, simply un-check the Use Transaction Filter check box and all transactions will be displayed.
Because of its use, the list of transaction codes will quickly grow into only the list typically being disputed by Case Type and the filtered functionality will remove many of the transactions commonly not needed for selection.
The list of transaction codes by Case type can also be reviewed and manually edited. Use the Edit Host Tran Codes button on the transaction listing.
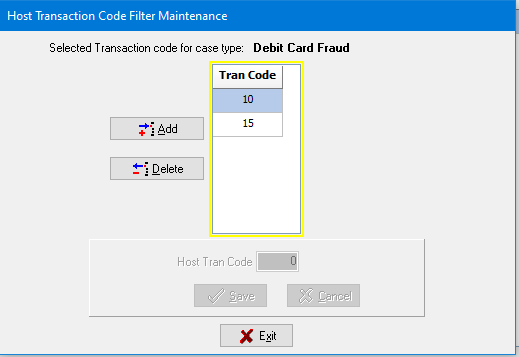
This allows for review and manual editing of the list by Case type.
During the Add Case functionality, when selected transactions are added to the case, a Merchant look up based upon from the transaction description is now performed. The program will search through its list of existing merchant names and select the first name that exists in the transaction description. The name matching is not case-sensitive. If a match is not found, the system will provide the following prompt to alert the user that a new merchant will need to be added and manually assigned to the dispute.
When hovering of the disputed transaction in the dispute grid, a help hint will now be displayed showing the transaction description. This will assist the user in adding the new merchant to the list.
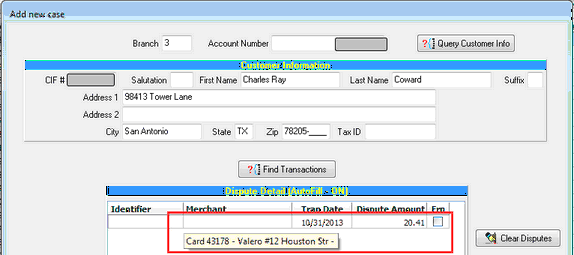
By structuring the Merchant name list with the desired detail, the user can control how the transaction description will be phrased.
Example1: All "Walmart" transaction descriptions should be matched to the single merchant regardless of the detailed location or any other distinguishing description in the transaction description.
Tran Desc. = "Walmart #71"
Tran Desc. = "Walmart Bulverde"
The Merchant list should contain only the name "Walmart" and therefore would match both transaction descriptions to the single "Walmart" merchant.
Example2: Detailed analysis by merchant location or other separation is desired.
Tran Desc. = "Walmart #71"
Tran Desc. = "Walmart On-line"
Tran Desc. = "Walmart Bulverde"
In order to break out each individual location, separate merchants will need to be setup for each location. An all encompassing "Walmart" should not be setup. As transactions with new locations come through, the system will not be able to find a match and will prompt the user to add the new merchant.
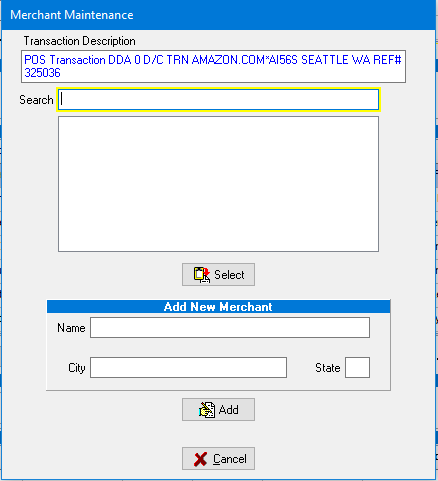
In order to properly setup a new merchant based upon the description found in the disputed transaction, the selected dispute's transaction description is now displayed in the Merchant Maintenance dialog box.
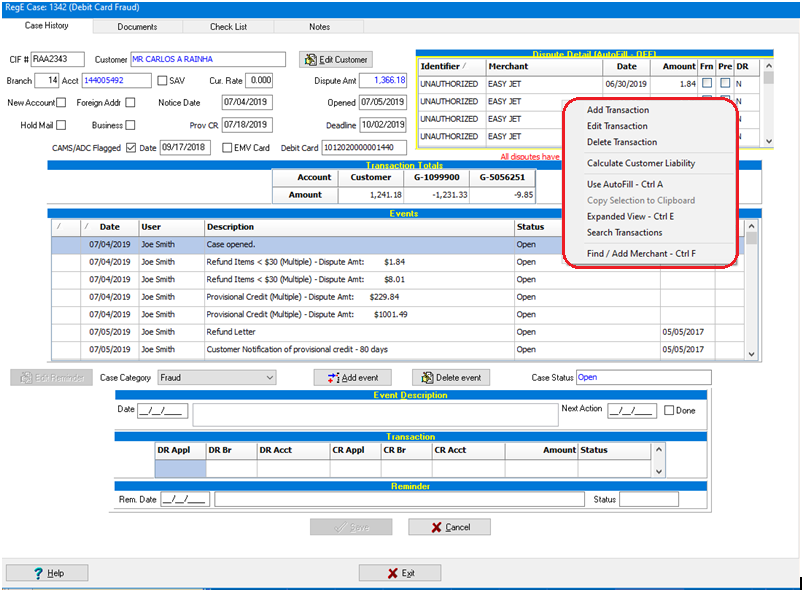
Once case is saved, changes can be made to transactions (add, edit or delete) or expanded view, search transactions or find/add merchant.
PRE-AUTH TRANSACTIONS
With the option enabled in System Setup, pre-authorized transactions will be searched for and shown all the way throughout the system in a blue font.
Type in the name of the new Merchant and select the Add button. The Merchants name will then show up in the Dispute Detail Maintenance box. Select save to get back to your dispute.
Notification Date - This is the date the customer reported the disputed transactions. It is the starting point of the calculation for Next Due Date and Deadline Date.
Open Date - This is the date the case was open by the user. It is pre-filled with the current date.
Next Due Date - This is the date by which the customer has to be given either provisional or permanent credit for his disputed transactions. The date is automatically calculated upon exit of the Notification Date. The calculation is based upon the parameter settings under the RegE Setup / Case Types section. If the user feels the date was calculated incorrectly, it can be edited.
Deadline Date - This is the date by which the customer dispute has to be completed. Again, this date is automatically calculated upon exit of the notification date. The calculation is based upon the parameter settings under the RegE Setup / Case Types section. If the user feels the date was calculated incorrectly, it can be edited.
Business Dispute - This check box indicates that the dispute was made from a business account.
Debit Card No - This is an optional reference field for the Debit Card No being disputed.
Case Category - As a case is opened, it will require an initial Case Category to be assigned. This is typically the reason the customer provides for why he is disputed the transactions. Once the case is researched and completed, a final case category will be assigned to the case and reporting can be performed based upon either of those two case category types.
Dispute Detail Grid
The Dispute Detail grid provides the ability to see the disputed items as reported by the customer.
Identifier - |
A text field that can be used as a reference field to identify the dispute. |
Merchant - |
A text field that can be used to identify the merchant involved in the dispute.--see Merchant Lookup procedure below |
Tran Date - |
The date of the incident as reported by the customer. |
Dispute Amount - |
The disputed amount |
Frn |
This check box identifies the transaction as a foreign transactions. |
Pre |
Indicates PreAuth transaction --See PreAuth Transactions below |
DR |
Indicates resolution of disputed transaction item - See additional information below |
Each Dispute carries a manually controlled flag that was originally designed to indicate "Foreign" or "Pre Authorized" disputes. However, it is simply a manual flag that is available to represent any property to be tracked. The DR was added to allow the institutions to track how each disputed transaction was resolved. (See additional information on Dispute Resolution).

Went working in the Dispute Detail Grid you can right click anywhere in the grid and select Expanded View - Ctrl E. This will give you a large window showing all of the disputed items on a larger scale and also allows for the ability to copy parts of the detail onto customer correspondence. In the Disp. Res. column you can select the right side of the box and a drop down will appear. This drop down will list the full description of the Dispute Resolution identifiers.
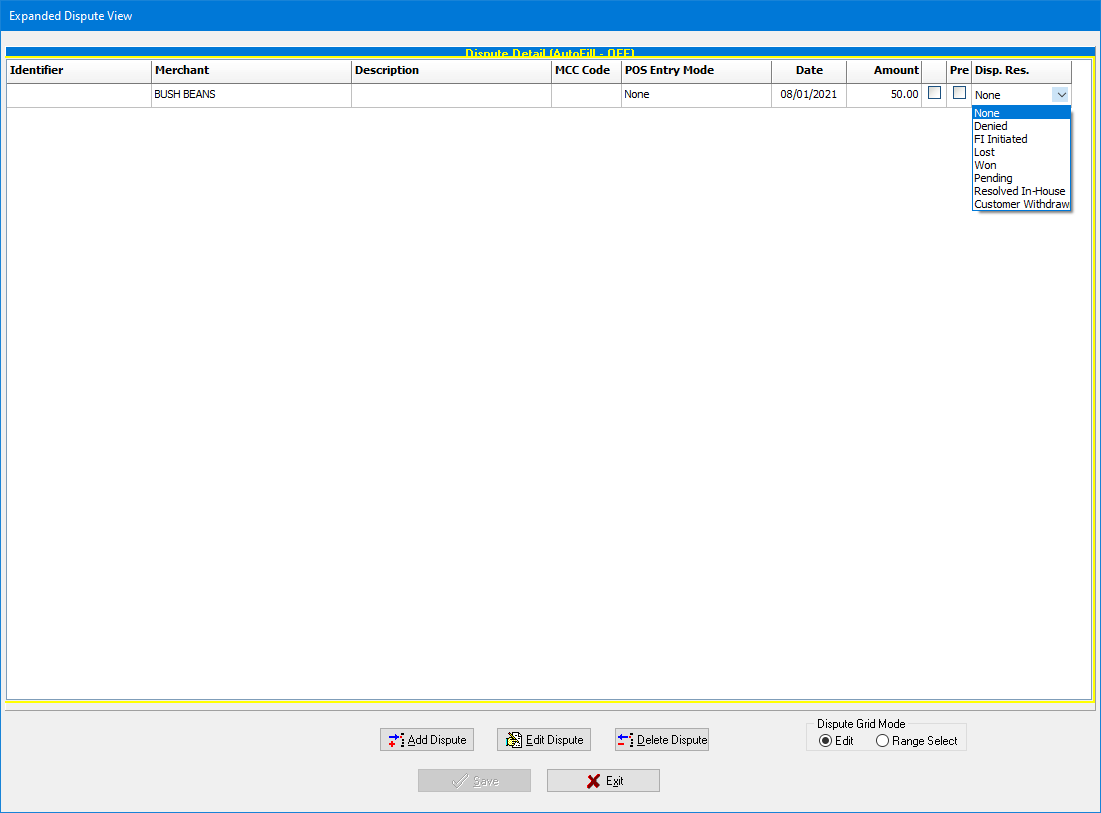

They are also assigned a new dispute flag "Pre", which can be used to toggle the status from a Pre-Authorized transaction to a normal, hard-posted transaction. The check mark indicator for Pre should be removed if the transaction is hard posted and to be worked in the case. Should the pre-authorized transaction not hard post, it can simply be deleted.

Pre-Authorized transactions are not counted as part of the Total Dispute amount. Verification of proper provisional credits according to the RegE regulation is performed only against the hard posted transactions. However, the system does allow you to credit the pre-authorized transactions if so desired by the user. However, it will still protect the case from over-crediting beyond the amount of all disputes.

Cases "containing" pre-authorized transactions will also be shown in blue on the inventory grid.
Compromised Card Message
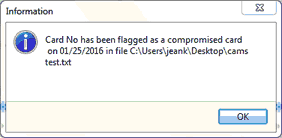
If a new case contains a card that has been previously identified as compromised through the CAMS list, a message will appear when the case is added.
