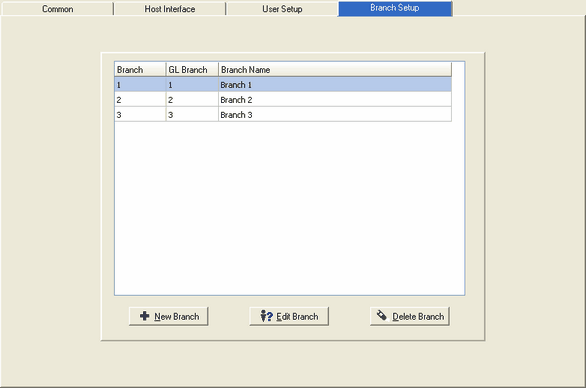
![]() Main Menu | Param. Setup | Branch Setup
Main Menu | Param. Setup | Branch Setup
If IRR-Solutions® II was installed to run at the branch level, the Branch Setup tab will be visible. If you are processing at the institution level, the Branch Setup tab will not be visible. This tab is used to set up each of the branch numbers and branch name you have installed on your host system.
Add a New Branch
To add a branch, press the New Branch button and the following screen will be displayed:
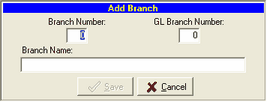
Branch Number - This is the AL branch number. You can enter any number you wish but usually it's best to set up the AL branch number to match the GL branch number.
GL Branch Number - The branch number you enter here must match the branch number on your host system.
Branch Name - Enter a descriptive name for your branch.
Press SAVE when you are done.
To complete the new branch setup another step is necessary. The step above has assigned the branch number and branch name but you will also need to interface the new branch accounts to the A/L accounts. Go to GL/AL Cross Reference for the next step.
Edit a Branch
To edit an existing branch, press the Edit Branch button and the following screen will be displayed:
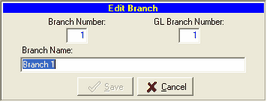
Branch Number - This is the AL branch number. You can enter any number you wish but usually it's best to set up the AL branch number to match the GL branch number.
GL Branch Number - The branch number you enter here must match the branch number on your host system
Branch Name - Change the descriptive name of your branch.
Press SAVE when you are done.
Delete Branch
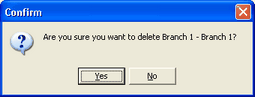
To delete an existing branch, press the Delete Branch button and the following confirmation screen will be displayed: