We must define the G/L account ranges for each component of our equation.
![]() Main Menu | Reporting | My Reports (select an RG report) | Edit button | Account Ranges
Main Menu | Reporting | My Reports (select an RG report) | Edit button | Account Ranges
After the above path has been selected, the following screen is displayed:
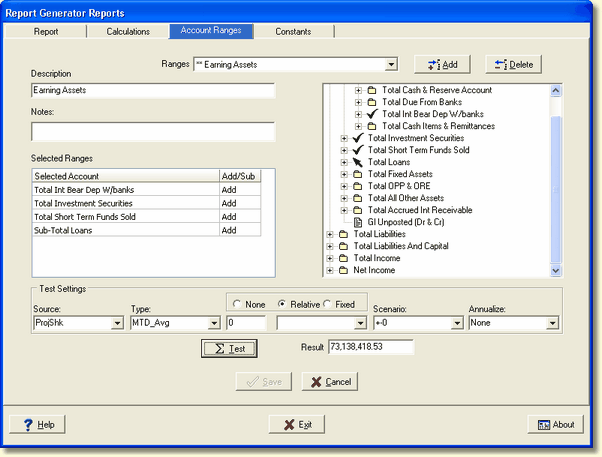
Add button - To add an account range, press the Add button. Entering data into this screen before pressing the ADD button will result in an error message. The ADD button must be pressed for each identified account range to be set up. Selecting the ADD button will activate the Description, Notes, and Selected Ranges area.
Description - Type in a description of the range being added. As described in the Report Component chapter, a description can be developed with a logical naming convention for ease in identifying the range. Here, we are adding a range for Earning Assets which contains all interest earning assets.
Notes - You may add any text to the notes area that may help you to explain the account range. This is a free-form user defined area.
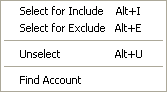
Selected Ranges - Identify the account range to be used in the chart of accounts on the right. Select the account, then right click. From the shortcut menu, select Select for Include.
You may select several contiguous accounts by clicking on the first account in the range, holding down the Shift key, then selecting the last account in the range. This will select all accounts in between.
Another recommendation is to select subtotal accounts for the account ranges. This will ensure that new accounts setup in the future under a subtotal will be included in the designed account range, thus eliminating the need to redesign reports when new accounts are added.
Since our account range contains several subtotal accounts, we can select the subtotal - Total Int Bear Dep/Banks as one of the selected accounts.
To delete an account range, select the account in the tree view on the right to be deleted. This account or subtotal will have a green check mark next to the description. Right click, the shortcut menu above will be displayed. Click on Unselect and the account or subtotal will be removed from the Selected Ranges box on the left.
To test the account range, you can enter the following fields at the bottom of the screen:
Source - We have selected actual history and projections - ProjShk.
Type - For our account range, we have selected MTD AVG.
Scenario - Because we want to see actual figures and not shock figures, we have selected the no change (+-0).
Period - To use the current period, we select "0".
Annualize - We do not need to annualize this equation, so we select "none".
Test button - When we have finished selecting the parameters, we can test the calculation of the range by clicking the Test button. The results will be displayed in the Results box to the right of the button.
Save - Click SAVE to save the account range.