Cells are the final part of the report design. Select a cell, right click anywhere in the report grid to display the pop-up menu below
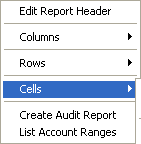
Use the pop-up menu to select editing of a particular cell or simply double-click a cell area on the report grid. This will activate the Edit Cell dialog.
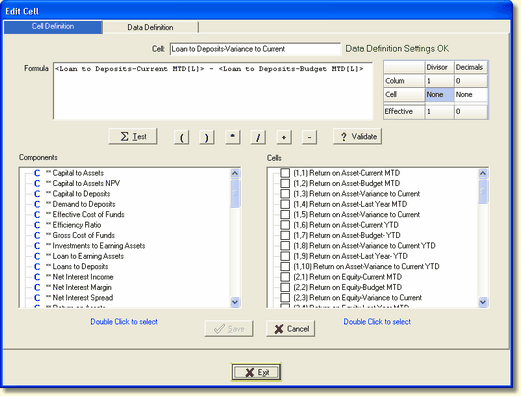
Cell Definition
Cell:
The location of each cell will be defaulted to the row and column description that intersect at the cell. However, you may override this default and provide your own description. Next to the Cell description the system will notify the user if setup in the Data Definition tab is necessary. The message, "Data Definition Settings OK", indicates the Data Definition settings are OK unless the user wishes to change them. The message, "Data Definition Settings Required", indicates the user must set up the Data Definitions before exiting the Edit Cell screen.
Formula
The Formula box will show the current structure of the cell. Since different components can be used in a formula, the following icons (which will be in brackets) where established to identify the components of a formula.
![]() - a calculation
- a calculation
![]() - a fully defined account range
- a fully defined account range
![]() - an account range place holder that has the actual account range not yet defined
- an account range place holder that has the actual account range not yet defined
![]() - a constant
- a constant
L - a link to a previously defined cell
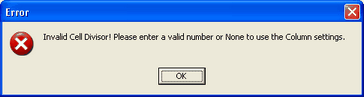
Divisor / Decimals
The Divisor / Decimal grid displays the column and cell settings for the divisor and decimal parameter settings and the effective results. The Column divisor / decimal settings come from the Report Column Design screen. The Cell divisor / decimal settings are entered into the grid on the Edit Cell screen above.
Format settings in the Cell will override the same data formats in the Column. Unless the Cell option, Reset Cell(s) to Column Default, is taken.
If you want the Column setting for Divisor / Decimals to be the default, make sure the Cell settings are "None" not zero.
Divisor
The divisor is used to format the data in the column. For example, to display data in thousands enter 1000.
Decimals
To change the decimal position of the data, enter the appropriate decimal places.
Test
The Test button will display the results from the entered formula.
Math Operator
The operator for a particular portion of the calculation can be added or changed by clicking on the appropriate math operator and inserted between components or selected cells.
![]()
Validate
The Validate button will confirm there are no syntax errors in the entered formula.
Components
A list of all available components will be listed, including calculations, ranges, and constants. Components can be added by double clicking on the component and it will be displayed in the formula box.
Cells
Cells can be constructed of math operations between other cells. The Cells box shows all cells available for calculations. The report generator processes cells from top left to bottom right. In order for a cell to use other cells, the cell you are setting up has to be further down in the processing sequence than the cell it wants to refer to. The Cells box display will automatically adjust and only show the cells available for use.
Data Definition
The Data Definition tab contains the components selected in the Cell Definition setup tab. A component could be a calculation, range, and/or constant. Each component with a red question mark will need to be identified on this screen.
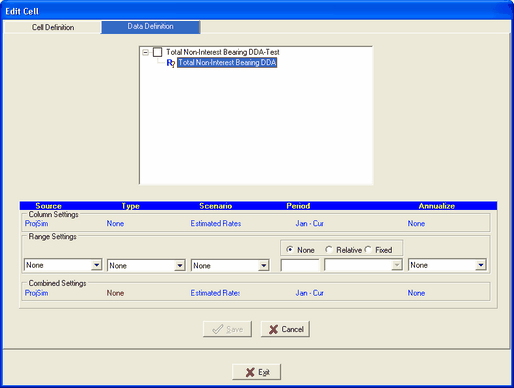
The Data Definition parameter options are located at the bottom of the screen. They are divided into three sections. The Column Settings, Range Settings, and Combined Settings.
Column Settings - These settings are entered into the Report Column Design screen. If a data definition component option is not set, None will appear under that component.
Range Settings - The Range Settings pertain to the selected range in the formula box at the top of the screen. The user can override the Column Settings above by selecting different component options in the Range Settings.
Combined Settings - The Combined Settings are the combination of the Column and Range Settings. If none are selected in the Range Settings, then the Column Settings are used.
If any of the Combined Setting's component options are in red, meaning no selection was made in the Column or Range Settings, the user must select an option in the Range Setting for that specific cell or go to the Report Column Design screen to set the Column setting for all cells in that column.
See Data Definitions for a detailed listing of all component options.
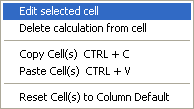
Other options in the Cell pop-up menu.
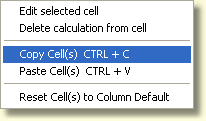
Copy/Paste Multiple Cells
To quickly duplicate existing cell definitions into other cells, select a cell then right click the mouse and select Cells / Copy Cells. To paste the copied cells, select the target cell, right click and select Cells / Paste Cells.
Delete Calculation From Cell
To remove the contents of a cell or cells, either a calculation or a range, simply select the cell or cells, right click on the report grid and select Cell / Delete Calculation from Cell from the popup menu. A confirmation message will be displayed.

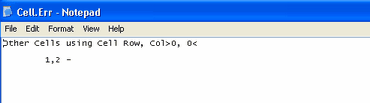
A cell's content can only be deleted if it is not currently referenced by any other cell. An error message will popup if the user attempts to delete a cell that is currently still referenced in another cell.
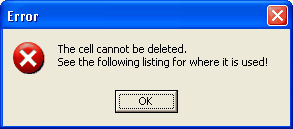
This will be followed by a notepad display of the column and row which uses the cell you are attempting to delete as shown below:
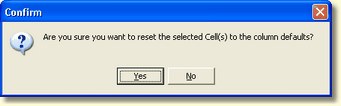
Reset Cell(s) to Column Default
Format settings in the Cell will override the same data format settings in the Column. However, if you wish to change the Cell(s) settings to the Column format settings, right click on the cell(s) and select Reset Cell(s) to Column Default. The confirmation dialog box below will be displayed. If Yes is selected, the Cell icon changes from a check mark to a check mark with an overlayed up arrow ![]() , indicating the Cell is using Column default settings.
, indicating the Cell is using Column default settings.
Note: Once you say Yes, you cannot reverse the process and return to the Cell override settings.