|
<< Click to Display Table of Contents >> Define a custom check list item |
  
|
|
<< Click to Display Table of Contents >> Define a custom check list item |
|
DEFINE A CUSTOM CHECK LIST ITEM
1. Select Regulation E module from the Main Menu
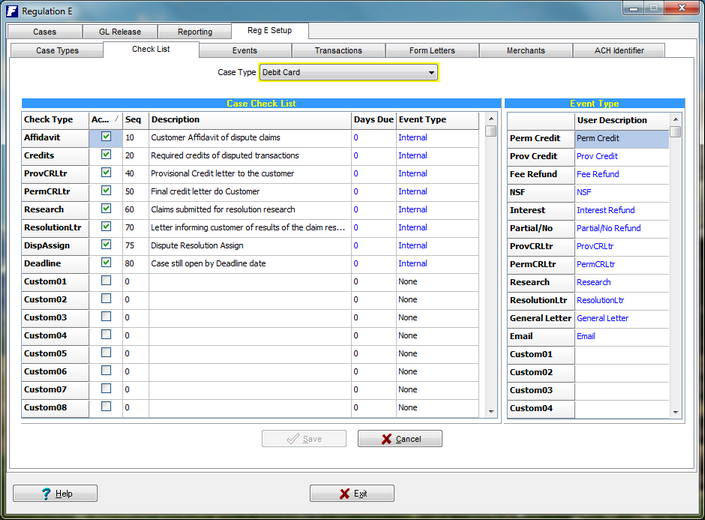
2. Select the RegE Setup tab and the Check List sub-tab
3. Select the associated Case type for the check list to be modified
4. Select the First Description and Customize it with the wording you want used for that check type.
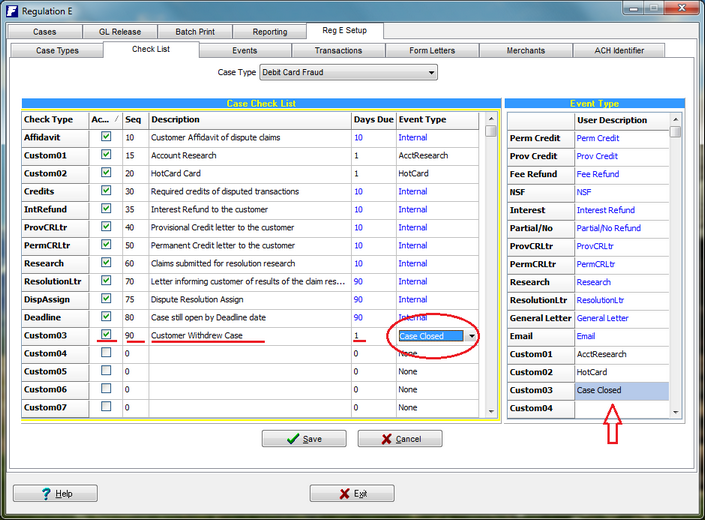
4. Select the next available (blank) Custom row (12 are available).
5. Put a check mark in the Active check box.
6. Assign a sequence number that is logical when the check list item would take place in the sequence of a case.
7. Enter the number of Days from the Notification date that this check list item should be completed by. The days are counted as Business days.
|
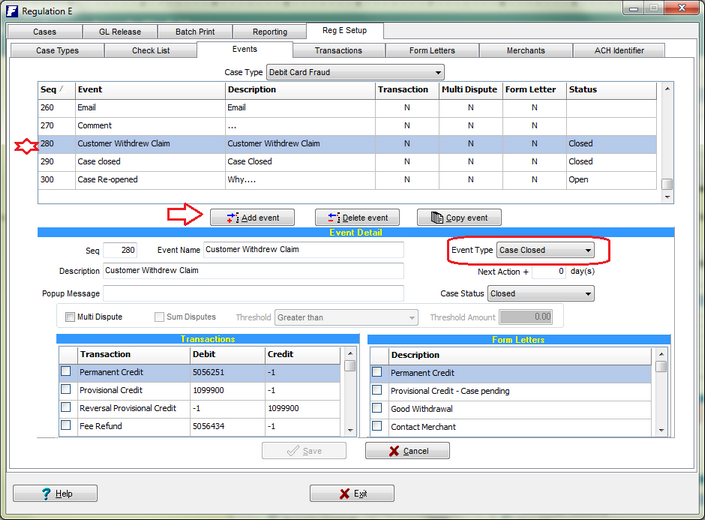
8. On the right side of the screen in the Event Type grid, enter a custom User Description that will be associated with the check list item.
9. Back in the Check list grid, select the event type you just create for the custom check list item.
10. Create an associated event that when used, will satisfy the custom check list item. Be sure to associated the same custom event type selected for the check list item as the event type of the event.