As you specify each account range, you should test the results to verify that you have selected the correct accounts for the range.

Test button - When you have finished selecting the account range, you can test the calculation of the range by clicking the Test button. The results will be displayed in the Results box to the right of the button.
To test the account range, you can enter the following fields at the bottom of the screen:
Source - We have selected actual history and projections - ProjShk.
Type - For our account range, we have selected MTD AVG.
Scenario - Because we want to see actual figures and not shock figures, we have selected the no change (+-0).
Period - To use the current period, we select "0".
Annualize - We do not need to annualize this equation, so we select "none".
Test button - When we have finished selecting the parameters, we can test the calculation of the range by clicking the Test button. The results will be displayed in the Results box to the right of the button.
Save - Click SAVE to save the account range.
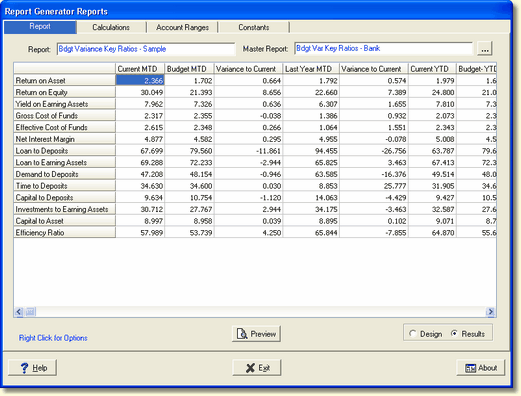
The same holds true for the report, when you have finished specifying the account ranges for the report, you should test the results to verify that you have selected the correct ranges for the report.
![]() Main Menu | Reporting | My Reports (select report) | Edit button
Main Menu | Reporting | My Reports (select report) | Edit button
To test the report, select the Report tab. You can click on the Results radio button so that the cells will show you the results of the calculations.