![]() Main Menu | Reporting | Print
Main Menu | Reporting | Print
To add a new group to the tree view, select the place in the tree view where you would like to insert the new group. An unlimited number of nested groups is supported, so you can make a new group a subgroup of an already existing group. The highest possible level for a new group is to become a subgroup to the "All Groups" group. Click the New button in the Group Setup area.
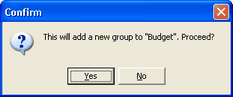
The system provides you with a confirmation message to indicate where the new group will be added. Select No to cancel the New group function if this wasn't the right group you wanted to add to.
If you selected the Yes button to confirm the new group addition, the system proceeds to the Add/Edit Group screen displayed below. You will be adding reports from the Available Reports listing and dragging it to the Reports in the group listing.
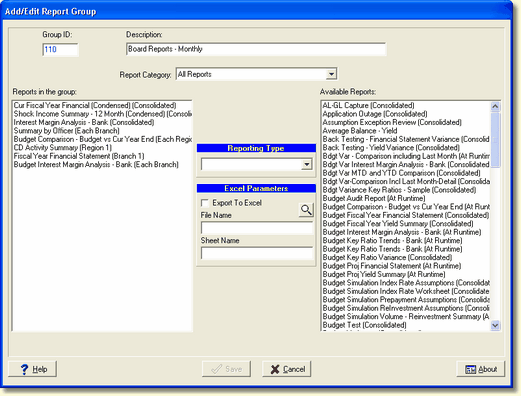
Group ID - The system will automatically assign a group id.
Description - Enter a description for the new group in the Description edit box.
Report Category - The Report Category drop-down box allows you to filter the list of available reports shown to just a single category. This makes it easier to find the report in a long list.
Reports in the Group - To add reports to the new group, simply drag & drop them from the list of Available Reports on the right side to the Reports in the group. The system will retain the reporting type which will be in parentheses next to the report description with the exception of "Runtime". Runtime will default to Consolidated when placed in the reports in the group box.
You can change the reporting type once it is placed in the Reports in the group box by selecting the Reporting Type drop-down box in the middle of the screen. If you change the reporting type setting, it will only pertain to the report in the group. It does not change the reporting type on the report in My Reports.
To remove reports from the group, drag them back from the Reports in the Group to the Available Reports.
Reporting Type - When an institution is set up for branching and a report in the Reports in the Group box is selected, the drop-down box will display the reporting type of the report. Otherwise the Reporting Type box is disabled. You can change the reporting type for the selected report if you wish, see Reports in the Group above. Available options are Consolidated, Each Branch, Branch 1, Branch 2, and if regions are set up by each region (all) or by individual regions.
If a Runtime report is selected, the user must make a Reporting Type selection by highlighting the report and selecting the desired Reporting Type. If the user tries to save the screen changes without changing the Runtime option, the system will generate an error message as shown below.
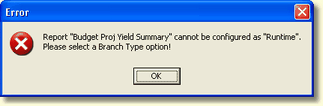
Click OK and select another Reporting Type option.
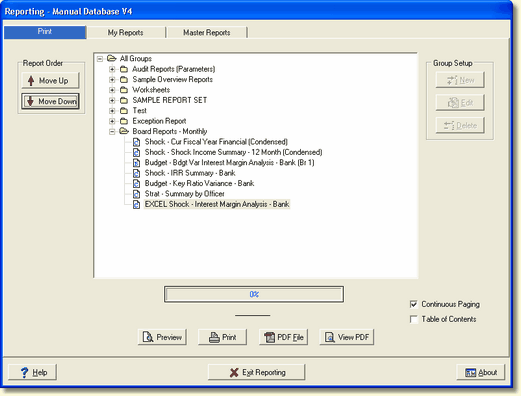
Specific icons will be displayed next to each report within each group on the Print tab to indicate the reporting type. See the example screen below.
![]() - Consolidated
- Consolidated
![]() - Each Branch
- Each Branch
![]() - Each Region
- Each Region
![]() - A specific Region
- A specific Region
![]() - A specific Branch
- A specific Branch
Excel Parameters - These parameters are used to export a Report Generator report to Excel. If a Standard report is selected in the Report in the Group listing, the Excel Parameters are dimmed out.
Export to Excel - Check the box to export the selected report to Excel.
File Name - Enter the Excel file name.
Sheet Name - Enter the sheet name of the Excel file.
Available Reports - This is a list of all available reports. After the description of each report, in parentheses is displayed the reporting type. It will show whether this report will print/preview by consolidated, branch, region or at runtime.
A group does not have to contain any reports, it could simply just contain additional subgroups. To setup such a group, simply enter a description for the group and select Save to create the group.
Any report can reside in as many groups as desired. The list of Available Reports will always show the complete list of currently available reports if the report category is set to All Reports.
Each report selected for a specific group, will have the report category listed in front of the report description within each group on the Print tab.