|
<< Click to Display Table of Contents >> Import Branch Cases |
  
|
|
<< Click to Display Table of Contents >> Import Branch Cases |
  
|
![]() Main Menu | Branch Disputes
Main Menu | Branch Disputes
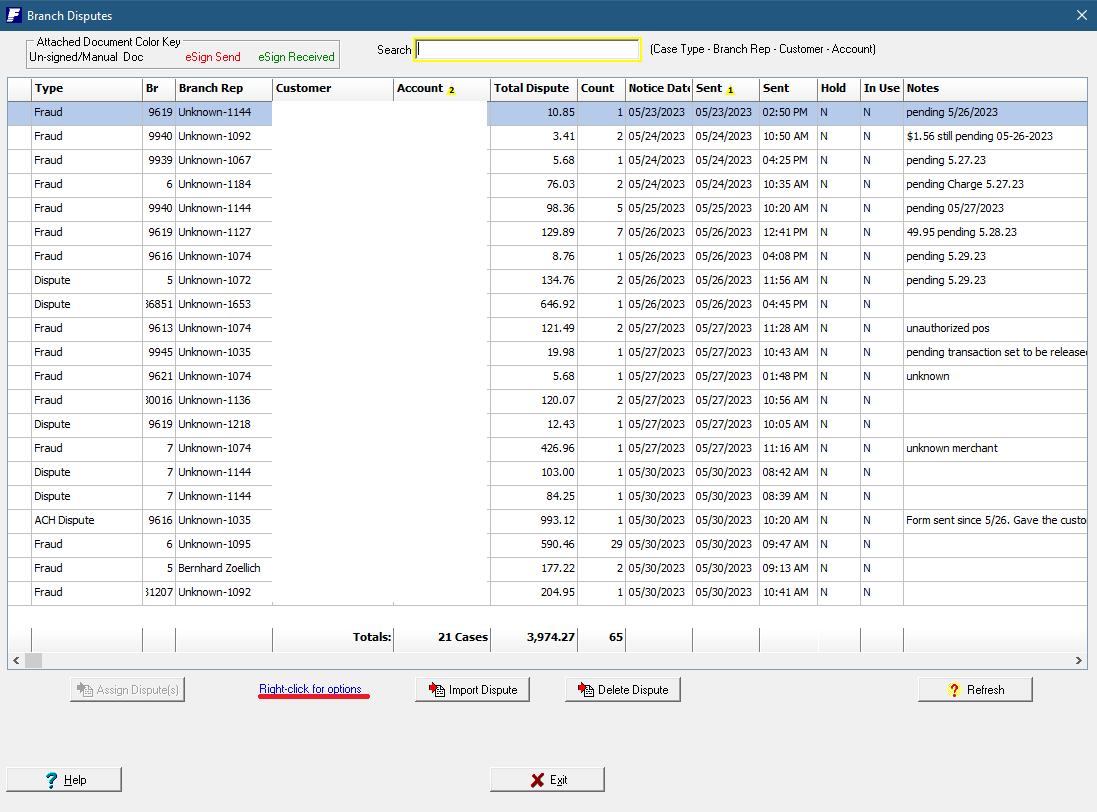
The Branch Dispute module provides for the import of any branch cases submitted by the branch module. This module is optional and is only used if Branch operation is enabled. Per client request, the grid is now sorted by default on the Open Date in ascending order. Only cases to which the user is authorized will be available to the user for import.
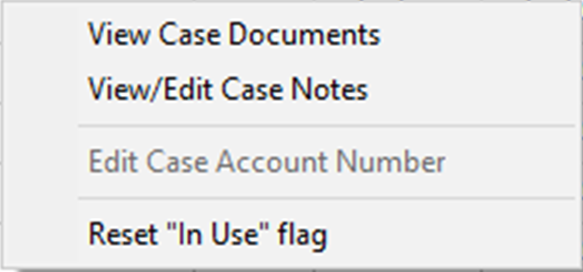
Select the case to be imported and right click on the case. This menu will allow you to view the documents associated with the case or read case notes.
Import Dispute - This function will start a new case for the currently selected pending dispute.
It starts the familiar Add Case screen, however, now the information is all filled in by the information provided by the branch.
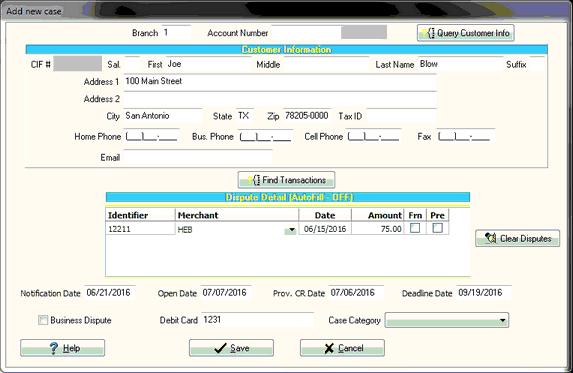
The customer information entered by the branch can still be verified and any differences will be pointed out by the application to be resolved by the operator.
The same parsing of the Merchant name is applied when branch cases are imported by the back office. The Branch module itself remains unchanged from the user perspective. No Merchant selection is required by the front-line user.
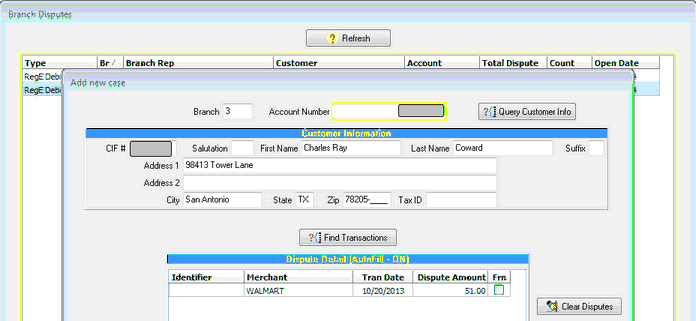
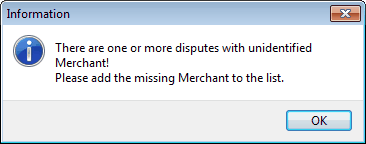
A similar prompt will be displayed if a matching merchant name for the transaction description is not available.
Delete Dispute - If necessary, a pending dispute can be deleted.
ASSIGN BRANCH CASES TO DEDICATED WORKER
Institutions with branch case entry have an option to have cases assigned to specific operators as the cases are imported. This option is enabled with two options being setup:
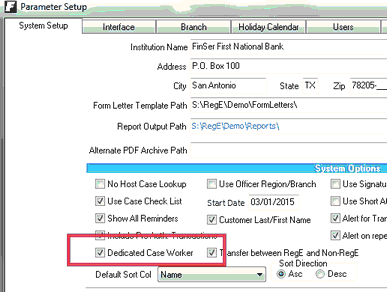
1) In Setup, on the System Setup tab, the Dedicated Case Worker option must be selected
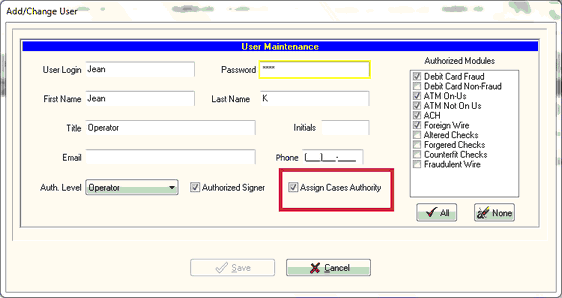
2) The user logged in must have "Assign Cases Authority" enabled on their user profile. This feature is not limited to supervisors
With these options set, the Assign Dispute(s) button will be enabled beneath the grid of Branch Disputes that are being imported by the backoffice. Check boxes will appear to the left of each branch case and multiple cases can be selected to be assigned to a user.
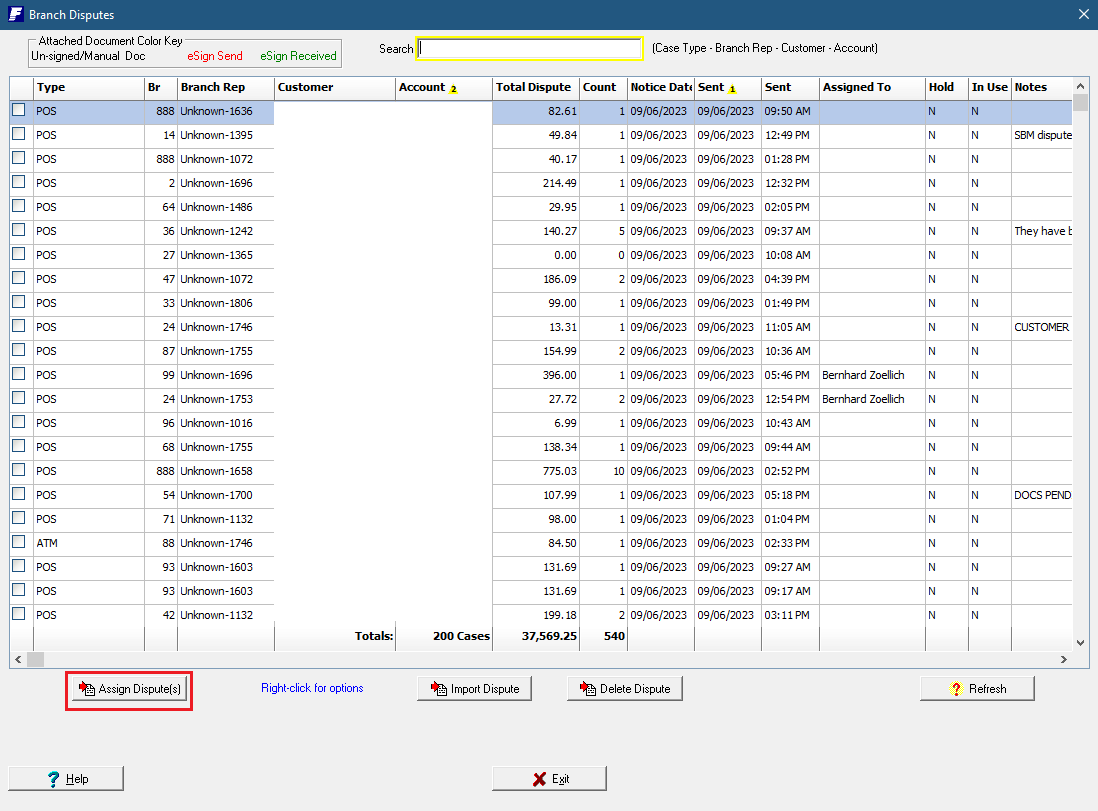
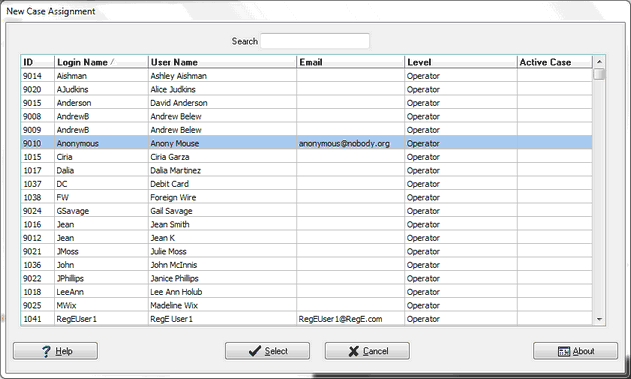
Once cases are selected, the Assign Dispute(s) button is clicked. A user list is displayed. Highlight the user to be assigned to the case(s) and click the Select button at the bottom of the users screen.
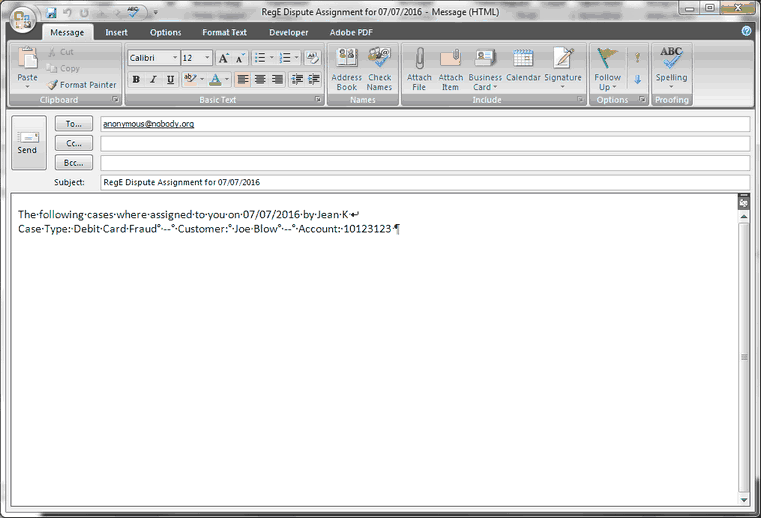
An email to the assigned user is created, listing the assigned cases.
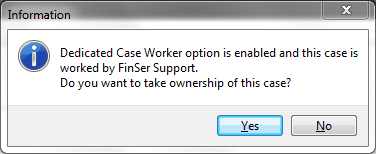
If another worker tries to enter an assigned case, a warning message is displayed. Another worker can assume ownership of working the case by clicking Yes; clicking No allows the worker to enter and add to the case without ownership.
